These are my notes running OpenBSD-current on a Dell XPS 17 9700 (2020) and Asus Eee 1000H (2008).
I've run OpenBSD on servers (including this website!) and ancient desktops, but I haven't used it on my main laptop. I think I like OpenBSD because of:
-
Continued support for old hardware. It supports not just my iMac G3 from 2000, but also computers from the late 80s!
-
Preference for minimalism and simplicity. They seem to prefer less complex software and you can see that in their reasons for writing their own http daemon or replacing sudo.
-
Of course, their focus on security and privacy. For example, camera and microphone are disabled by default and browsers are patched to have limited filesystem access.
So recently (Jan 19, 2024) I installed it on my main laptop on a whim because I thought it would be fun! Here are some notes that I'm taking about the ongoing experience.
Printer setup
I recently got a Brother HL-L2370DW printer that is connected to the network, and it took me a while to figure out how to print on it. I've tried this printer on Fedora and Android, and they can find the printer on the network and use it within a few seconds, so printing on OpenBSD was a bit baffling to me at first. I thought I could just press Ctrl+P and start printing. I searched online and found this article and it occured to me that CUPS might not exist in the distribution so I ran # pkg_add cups and followed the documentation in /usr/local/share/doc/pkg-readmes/cups.
The documentation mentioned that there are additional printer drivers packaged in OpenBSD so I searched and found brlaser which I installed as well. After that, I ran the CUPS daemon # rcctl enable cupsd; rcctl start cupsd and visited localhost:631 which found the printer on the network.
The frustrating part was that the driver for my exact model doesn't exist so I had to try out different drivers to see which one would worked. The configuration that finally worked for me was using the lpd://BRW5C619963C8A3/BINARY_P1 printer address in CUPS and using the "Brother HL-L2375DW series" driver which comes from the brlaser package.
doas
OpenBSD replaced the command sudo with a less-complex command called doas and it's pretty easy to set up. Here is my configuration for /etc/doas.conf:
permit persist jag as root
permit nopass jag as root cmd /root/hosts.sh
The first line is saying that you should let the user jag become root and try not to ask for the password too often. I don't want to completely disable passwords for security reasons.
The second line is saying, when /root/hosts.sh is executed, don't ask for the password at all. This program automatically updates the /etc/hosts file, so I don't want to be bothered with passwords at all when that is running.
Desktop
On the Dell XPS, I'm using GNOME. It was pretty easy to install and use! All I had to do was run # pkg_add gnome gnome-extras then run the cheat sheet provided in the documentation to enable it. KDE is coming soon, btw! I'd like to try out KDE on this machine sometime in the future.
2024-03-09: Recently started using cwm on this laptop instead so that I have consistent experience between the EeePC and the Dell.
On the Asus EeePC, I'm running cwm which is a lightweight desktop that works really well on this old machine. It comes with OpenBSD, so all I had to do was add it to .xsession: $ echo "cwm" >> ~/.xsession
Wi-Fi setup
On Linux desktops, people often expect to click on the control panel and connect to a Wi-Fi access point. In OpenBSD, you have to know more about your hardware and be more comfortable in the terminal. So in my case, I have in my laptop a Wi-Fi that's managed by the iwx driver which needs the firmware that can be installed by running fw_update. To search for access points, you can run # ifconfig iwx0 scan then find the access point that you want.
After that, make sure you add that access point to the config file in /etc/hostname.iwx0:
join ACCESSPOINT wpakey PASSWORD
inet autoconf
Then you run # ifconfig iwx0 up; sh /etc/netstart which should connect you to the wifi. Now it automatically connects to that wifi whenever I boot up my computer. I sometimes prefer to connect to ethernet instead of wifi so to do that you can turn off the wifi # ifconfig iwx0 down and make sure the ethernet driver is running with # ifconfig ure0 up.
VPN setup
For VPN, I'm using Mullvad. There's no Mullvad client on OpenBSD, but there's an alternative way of using Mullvad. First, go to WireGuard configuration section in your account and download the file. Let's say that file is called mullvad.conf. Then, on your desktop, install # pkg_add wireguard-tools.
After that, create the /etc/wireguard directory and move your downloaded file there so that you have /etc/wireguard/mullvad.conf. After that as a user, you can simply run $ wg-quick up mullvad. Visit their VPN checker to verify your connection.
Audio setup
I can't seem to get my speakers to work on the Dell XPS, but thankfully my USB speakers and microphone work as expected. Turning on the microphone is different from Linux distros that I've used as well because recording is disabled by default and you need to be root in order to enable it. You can find instructions on how to do that in OpenBSD's FAQ.
Battery life
On the Dell XPS, OpenBSD runs unusually hot even though I'm not doing much on my computer. It manages to eat up my battery life even though CPU usage is low. Something for me to look into whatever it is!
-
Jan 23, 2024: Eked out a bit more battery life by lowering the resolution of my monitor.
-
Jan 24, 2024: Further savings by manually running
# apm -Lto lower CPU performance. -
Jan 31, 2024: It's dawning on me that it might be the Nvidia GPU that's somehow still running in the background. The mailing list didn't seem to have a fix for it. I also installed
obsdfreqdbut that doesn't seem to help in this case.
On the Asus EeePC, the battery lasts longer! Suspend also works without any fiddling. This laptop is much better supported compared to the XPS.
Software availability
Since I've been on Linux solidly since 2020, I'm already used to using a lot of open source apps that also exist on OpenBSD. I have access to my usuals like Thunderbird (email and calendar), Gajim (chat), Vorta (backup), Syncthing (folder syncing), Tor Browser, and KeepassXC (passwords) for example. I do miss having Signal but that's ok I still have my phone for that. Linux binaries and WINE are unsupported as well on OpenBSD so I miss out on a lot of games, too. There are games available on OpenBSD, but if it's not there Nvidia's GeForce Now and Shadow runs well for when I'm playing with friends and family.
For design, fortunately I use a web-based tool called Figma that runs well so I can still do my job on this computer. Btw, one of the things I learned when using OpenBSD is to make sure that you read manuals. I learned that:
-
WASM is disabled in Chromium by default for security reasons, and you can't use Figma without it. You can run
ENABLE_WASM=1 chrometo enable it. -
Hardware acceleration on Firefox is disabled by default, but there are instructions in the readme to enable that.
Games
For people who want to play games on OpenBSD, check out these links.
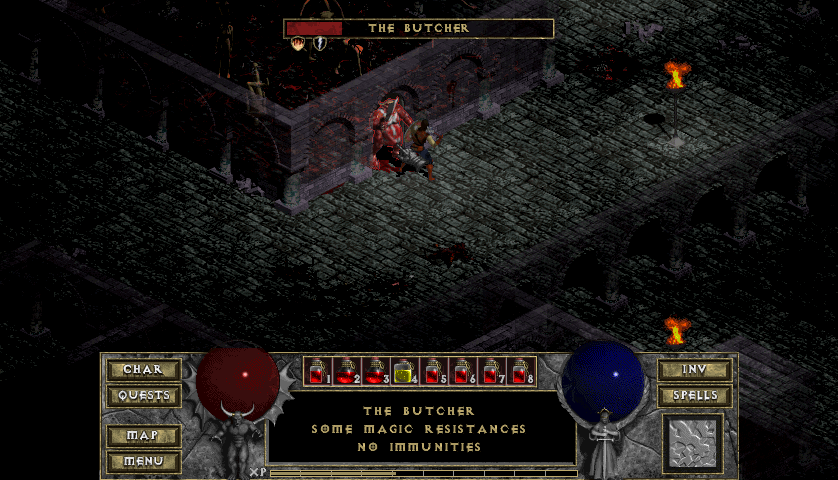
Diablo
-
Download the original game from GOG then install DevilutionX by running
# pkg_add devilutionx. -
To extract the .exe file, install innoextract by running
# pkg_add innoextractthen run$ innoextract -g -m setup.exe. -
Finally, copy over
DIABDAT.MPQto~/.local/share/diasurgical/devilution/then run$ devilutionx.
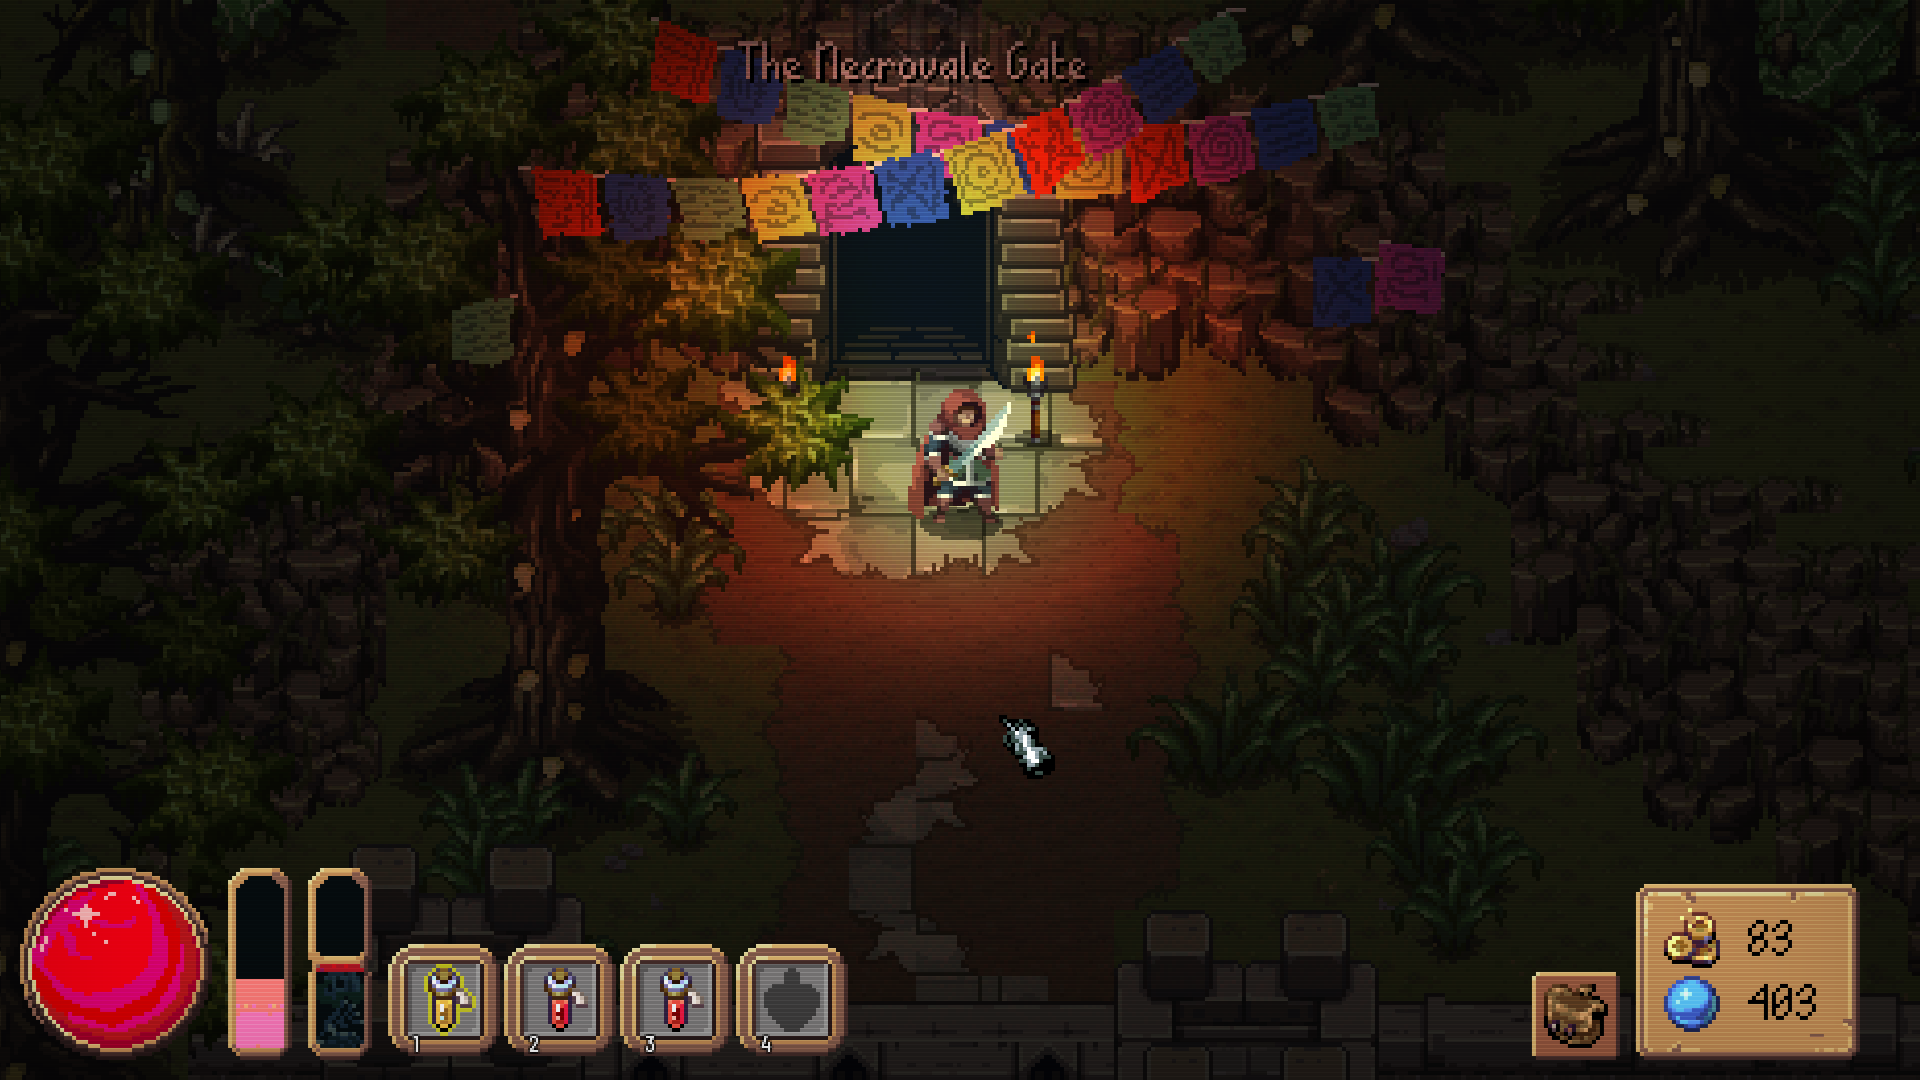
Into the Necrovale
-
Buy the game on Steam.
-
Install steamctl which will let you download the Steam game. You can do this by running
# pkg_add steamctlthen run$ mkdir necrovale; steamctl depot download -a 1717090 -o necrovale/ -
Go into the
necrovale/directory and delete the *.hdll files. -
Install HashLink by running
# pkg_add hashlink -
Run the program:
$ hl hlboot.dat
Kirby and the Amazing Mirror

-
Download Kirby from Archive.org and extract the archive.
-
Install mgba by running
# pkg_add mgba -
Run the game:
$ mgba kirby.gba
Make sure to run $ man mgba to see the controls and how to save the state of the game.
Brutal DOOM

-
Brutal DOOM is a mod of Ultimate Doom, Doom 2, and Final Doom so you need to get the original game first on GOG.
-
To extract the .exe file of the original game, install innoextract by running
# pkg_add innoextractthen run$ innoextract -g -m setup.exe. Look for the WAD file. -
Run
# pkg_add gzdoomand move the original WAD files to~/.config/gzdoom. Run gzdoom so that~/.config/gzdoom/gzdoom.iniis generated. -
Download Brutal DOOM and extract the archive.
-
Move
brutalv21.pk3to~/.config/gzdoomas well. -
Open the
~/.config./gzdoom/gzdoom.inifile and addPath=/home/username/.config/gzdoom/brutalv21.pk3under the[Global.Autoload]section. -
Run gzdoom again and enjoy!
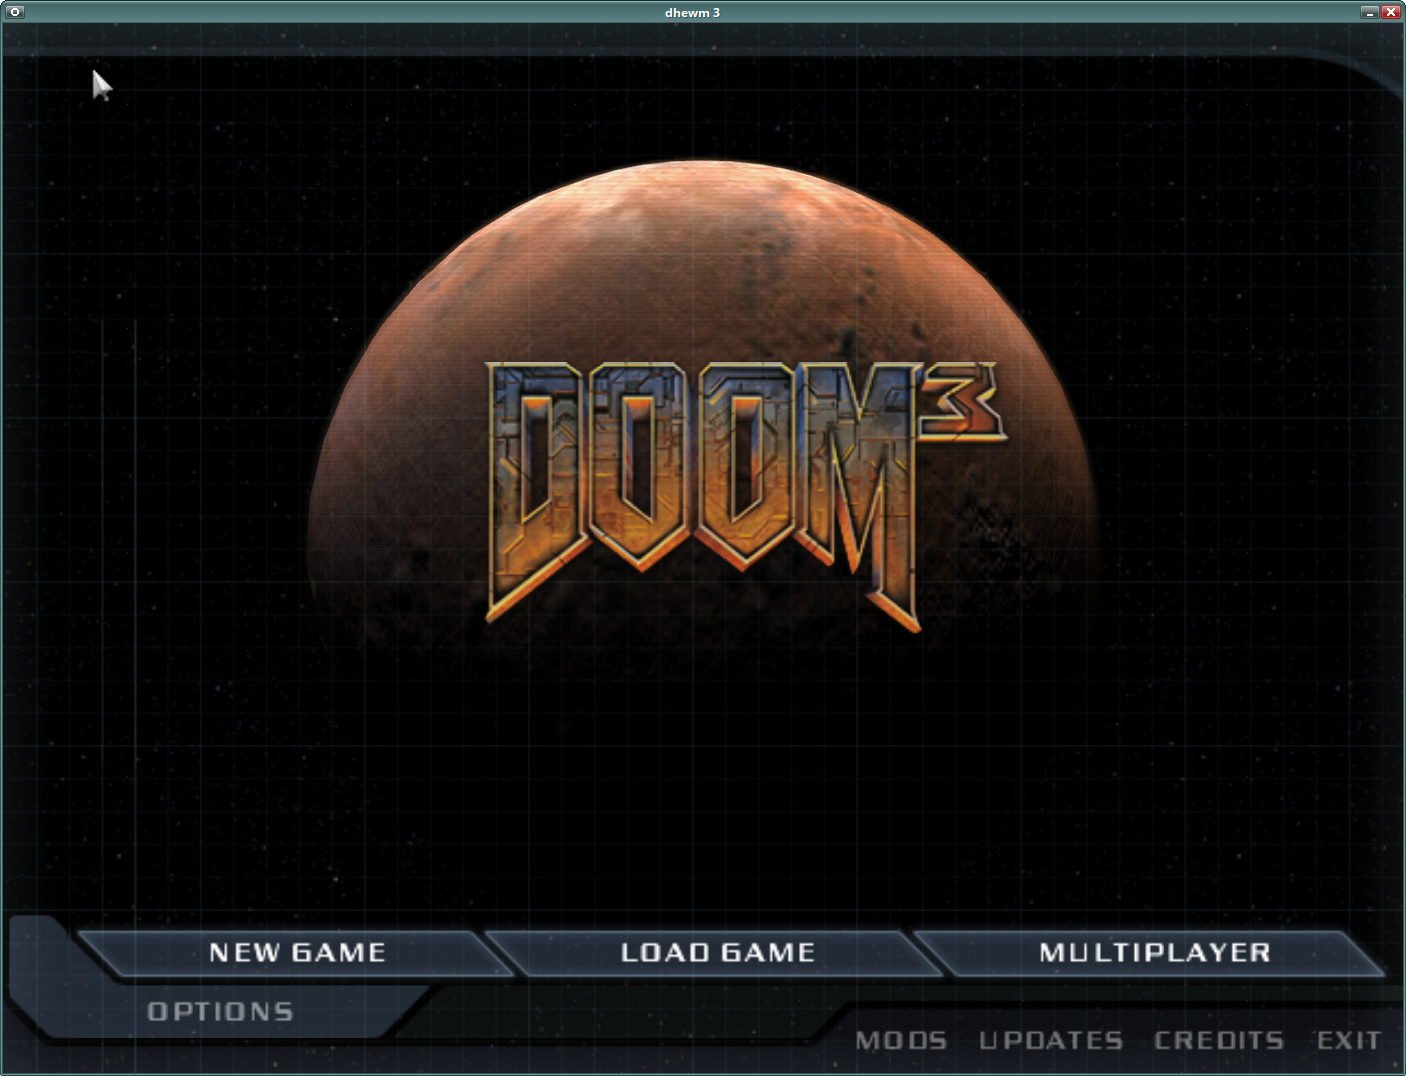
DOOM 3
-
Download the original game from GOG then install dhewm3 by running
# pkg_add dhewm3. -
To extract the .exe file, install innoextract by running
# pkg_add innoextractthen run$ innoextract -g -m setup.exe. -
Finally, copy over the contents of
base/to~/.config/dhewm3/base/then run$ dhewm3.
Mounting external drives
To mount my Kindle, I need to do figure out where the device is so I use a combination of dmesg and ugrep:
jag@big ~> dmesg | ug sd
     2:	    deraadt@amd64.openbsd.org:/usr/src/sys/arch/amd64/compile/GENERIC.MP
   257:	sd0 at scsibus1 targ 1 lun 0: <NVMe, PC SN730 NVMe WD, 1117>
   258:	sd0: 976762MB, 512 bytes/sector, 2000409264 sectors
   366:	sd1 at scsibus2 targ 1 lun 0: <Generic-, SD/MMC, 1.00> removable
   367:	sd2 at scsibus2 targ 1 lun 1: <Generic-, Micro SD/M2, 1.08> removable
   372:	sd3 at scsibus4 targ 1 lun 0: <OPENBSD, SR CRYPTO, 006>
   373:	sd3: 976502MB, 512 bytes/sector, 1999876159 sectors
   374:	root on sd3a (b1f9864122d03076.a) swap on sd3b dump on sd3b
   379:	wsdisplay0 at inteldrm0 mux 1: console (std, vt100 emulation), using wskbd0
   380:	wskbd1: connecting to wsdisplay0
   381:	wskbd2: connecting to wsdisplay0
   382:	wskbd3: connecting to wsdisplay0
   383:	wskbd4: connecting to wsdisplay0
   384:	wsdisplay0: screen 1-5 added (std, vt100 emulation)
   391:	sd4 at scsibus5 targ 1 lun 0: <Kindle, Internal Storage, 0100> removable serial.19490004260714920405
Here, we see on line 391 that the Kindle is on /dev/sd4. To figure out which partition to mount, I run disklabel:
jag@big ~> doas disklabel sd4

[...]

16 partitions:
#                size           offset  fstype [fsize bsize   cpg]
  c:          6836224                0  unused
  i:          6836208               16   MSDOS
Here we see that the i partition is formatted with the MSDOS filesystem (I think that's FAT), so we use that information to mount:
$ doas mount -t msdos /dev/sd4i ~/mount/Formatting external drives
Let's assume you have the same drive as the one above. To format it, you can run # fdisk -i sd4 to initialize it then run # disklabel sd4 to see which partitions are created. After that, run # newfs /dev/rsd4c (assuming you want to format the 'c' partition) to actually format it.
No copyright
Do whatever you the fuck you want with anything in here. Steal, copy, distribute, modify, even sell the contents of this website.
Contact
-
Mastodon: @jag@weirder.earth and @durian@ni.hil.ist
Other websites
-
Zines and masks: Durian Distro
-
Bookmarks: Betula
-
Photos: Flickr